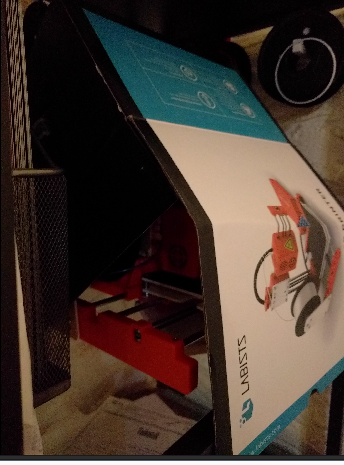
Trying to avoid the warping effect on my printed parts.
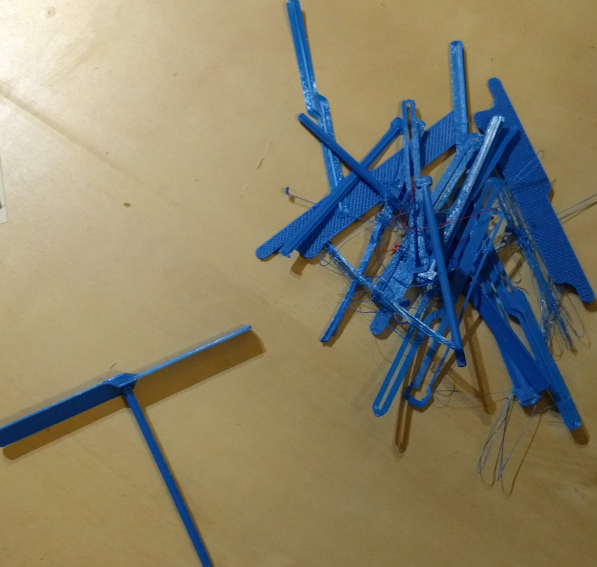
On a traditionnal bamboo copter
trying to print a traditionnal bamboo copter, but the PLA warps, even on the raft.

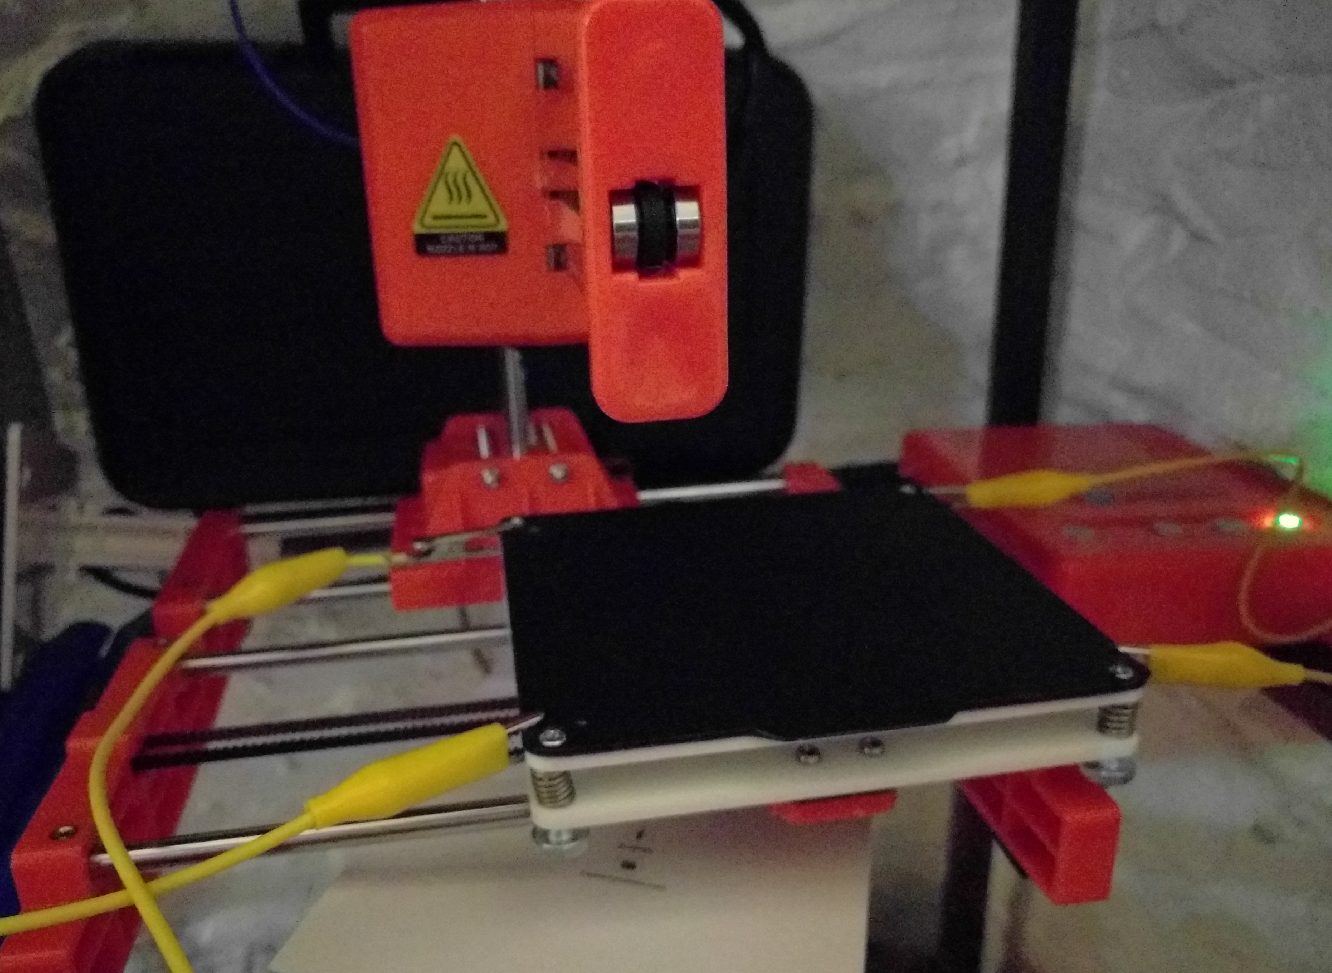
I checked the bed leveling several times and it looked ok. To be fair, using a sheet of paper to level the bed (see the manual of the labists x1 mini) does not seem like a very precise method.
It seems like the warping is mostly due to the plastic cooling too fast. Also, the brim is supposed to help.
So let’s try to stop the cooling and use a brim. I use a 3mm brim so that the part can fit in the 10cmx10cm size of my printer. I hope it is not an issue.

It no better. Note that I have made the effect look worse when removing the part. Next time I will keep it on the printer.
Ok, if the cooling is the issue, may be by reducing the print temperature, I can reduce the cooling effect as well.
Let’s try using 180°C instead of 200°C.

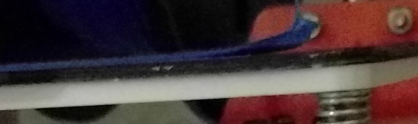
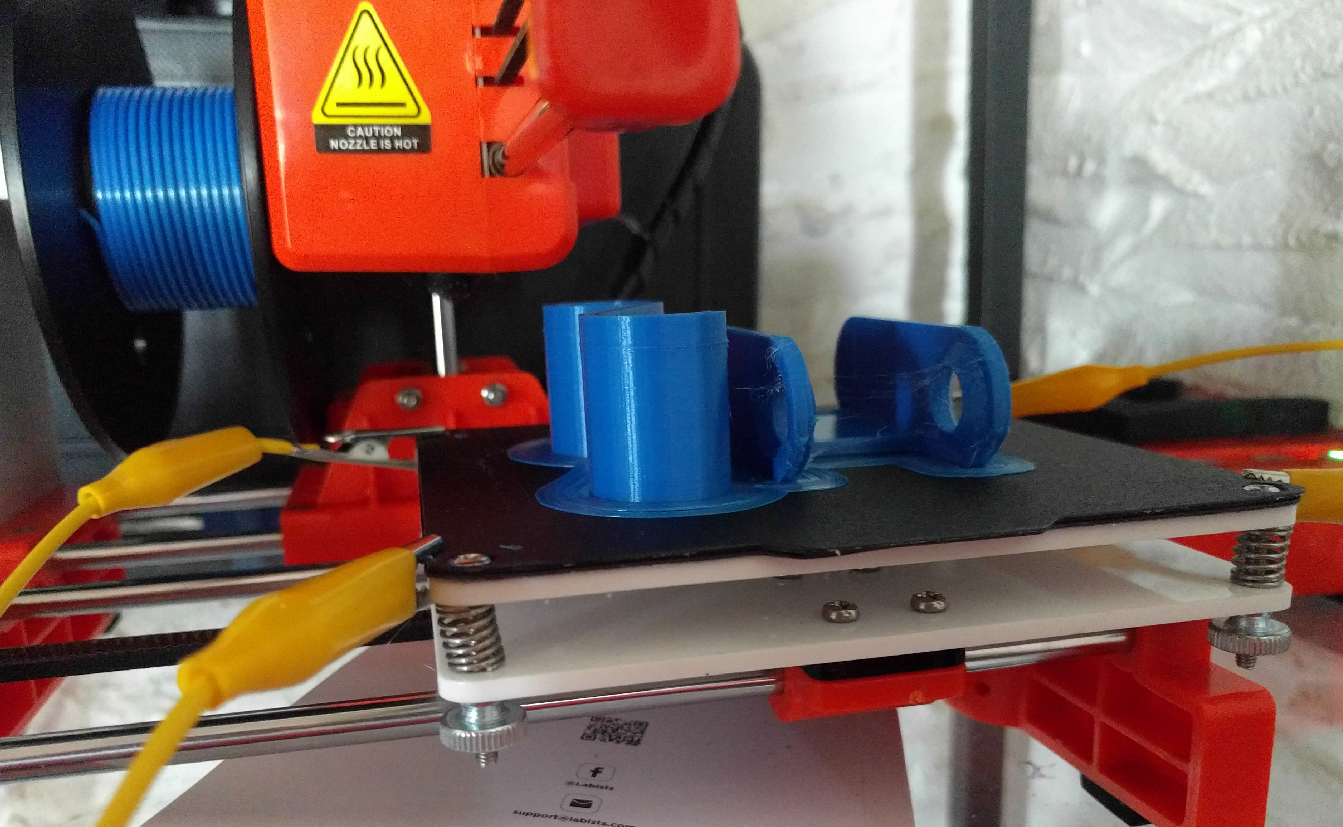
After a few minutes, it’s already starting to warp.
The printer is actually inside my living room, and maybe cold air is making the PLA cool too fast.
So, let’s go back to 200°C, with the fan on and but a box to reduce the air flow.
Actually, because this is ad-hoc work, there are several holes leaving space for air to flow, so I won’t be able to reject the hypothesis of cold air flow yet. But in case it works, I will still be able to give it more credit.

Still no luck…
Next try is to make the initial layer print more slowly, to help the PLA stick to the bed.
So let’s now try with a initial speed of 5mm/s instead of 15.

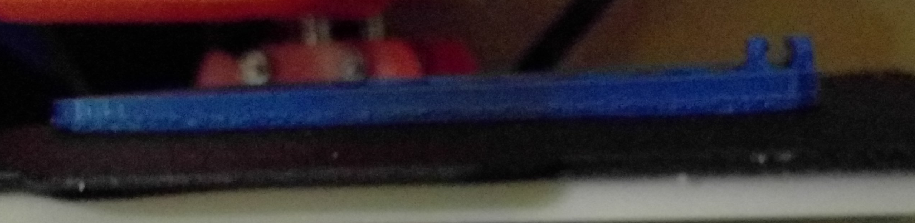
This is much better! There is a very small warping, but the part is in very good shape.
It took me some trial and errors, but I finally made it.
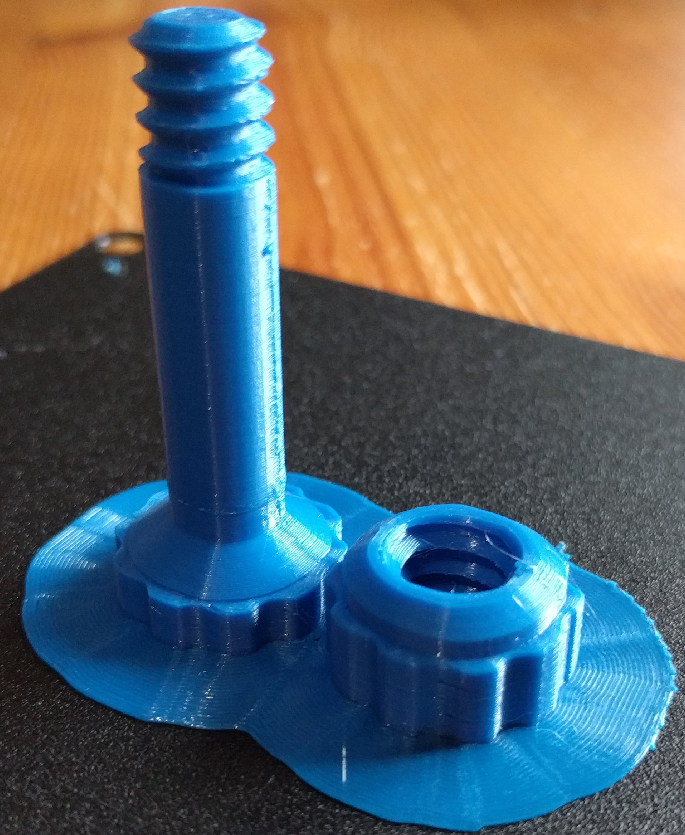
On a phone stand
I tried to print a phone stand, with the initial layer at 5mm/s, but I did not bother adding the box to avoid air flow.
May be I should have…
So, let’s try to add the box and see if the result is better.
Oups, after double checking my settings, it seems like the initial layer speed went back to 15mm/s.
Let’s have this part be printed anyway to see whether the box is enough.
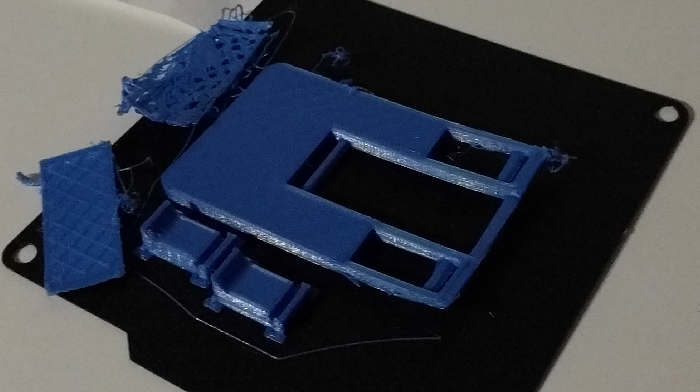
Now, the warping is still there but reasonably small, but I had another issue with the lack of infill….
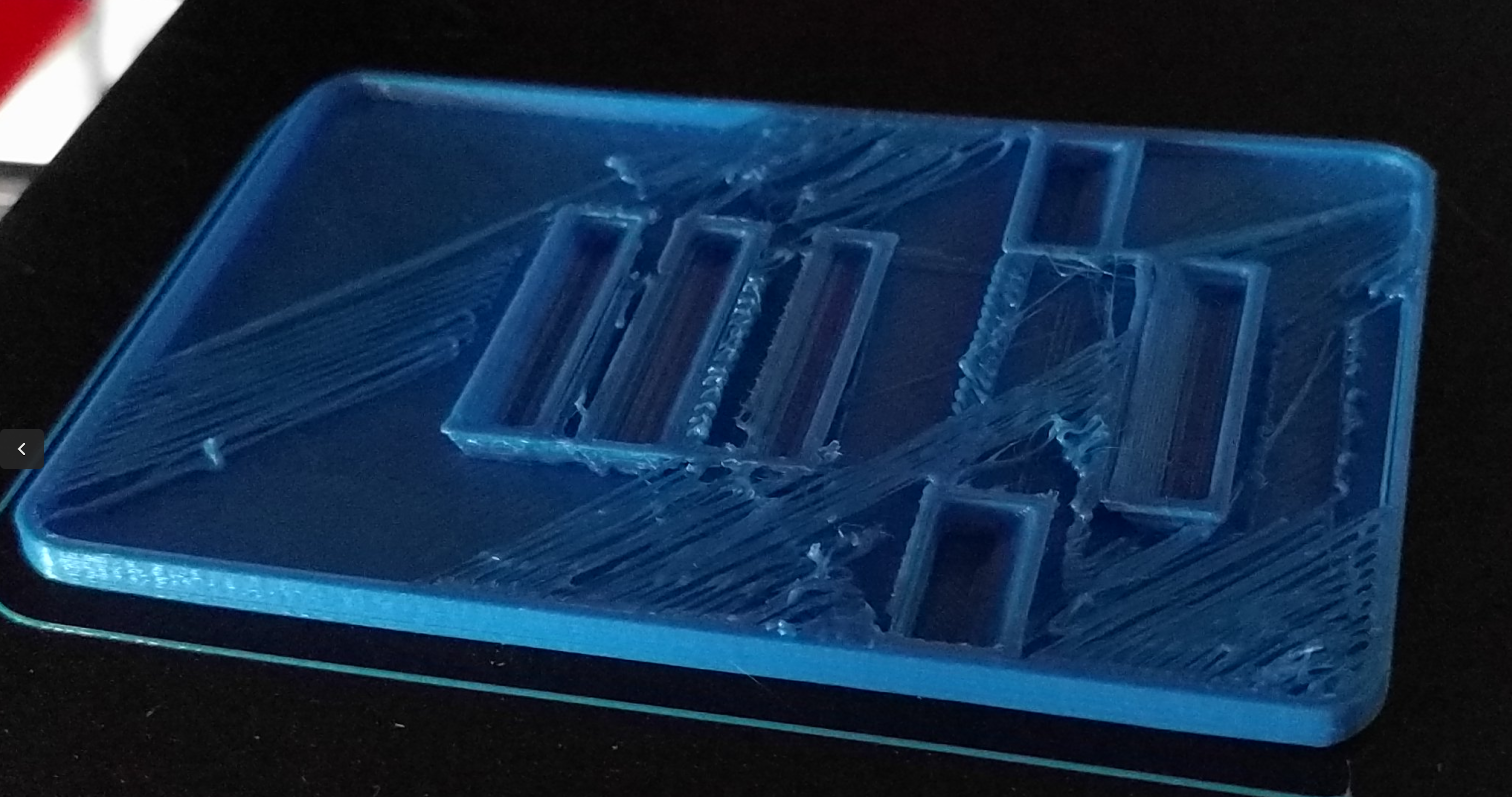
The PLA was too heavy to cross the gap between two walls. I will need to try again, using this time an initial layer of 5mm/s, a box and an infill of 20%.
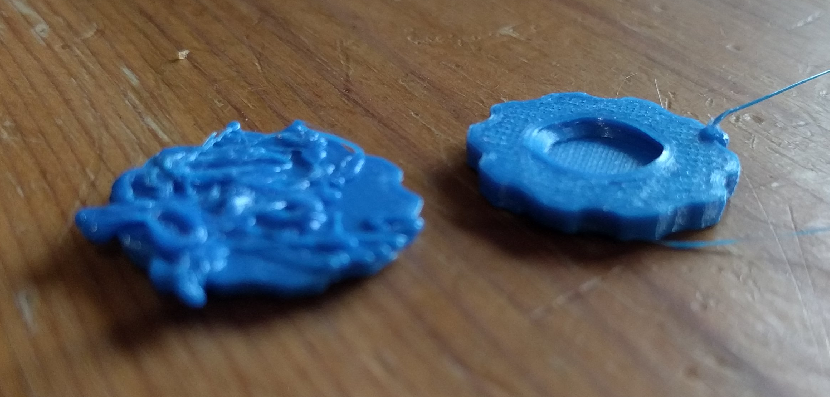
This is much better!
But, when trying the same method with the remaining parts of the phone stand, I get the following result.
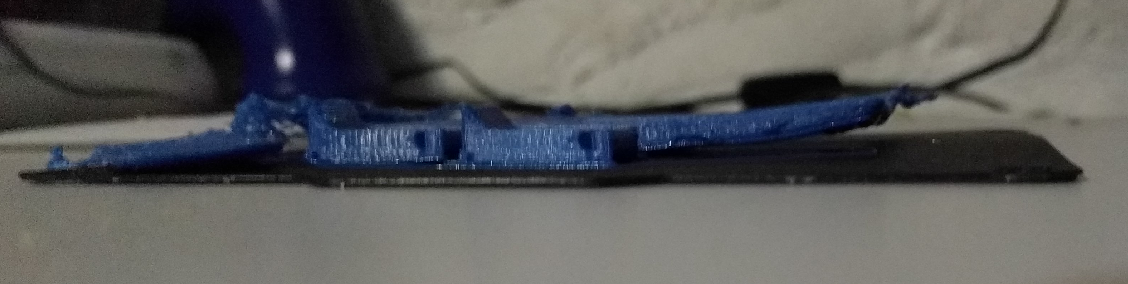
It looks like I still need to improve my technique.
I assume that the fact the remaining part spanned a bigger surface let it more time to cool per layer.
I eventually just added a big brim (1cm) and it did the trick.

Clipping the buildtak
I found out this video
The guy suggests to clip the corner of the buildtak.
So this is what I did
Trying with the smartphone little stand
He also says that the brim is not needed, even for small pieces.
Well, I must do something wrong…
My 3D parts are much better with the brim.
I would like to avoid the brim to avoid loosing 2cmx2cm of area, but I might need to try changing the buildtak.
Cleaning the buildtak
I read somewhere that using sandpaper (with fine grains) to clean the buildtak made it work again.
I used a 120mm sandpaper and indeed, I don’t have troubles anymore. The piece is now strongly fixed.
Notes linking here
- why does my model shift (braindump)